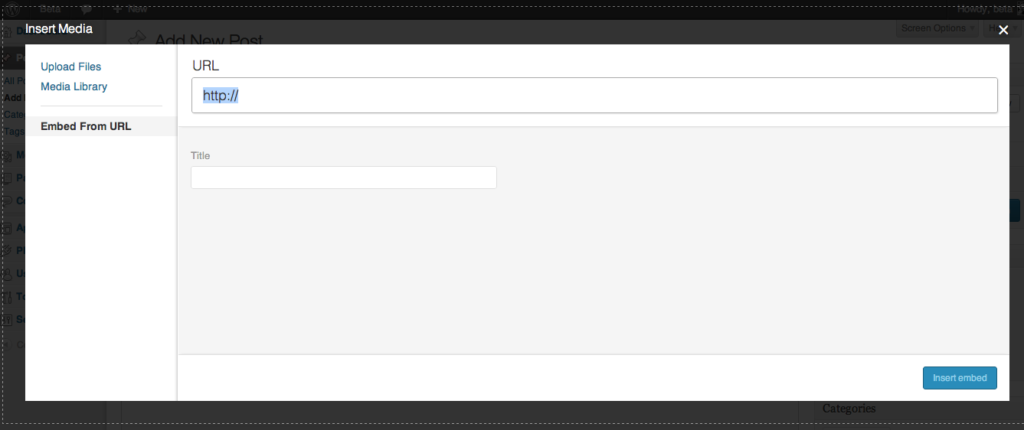
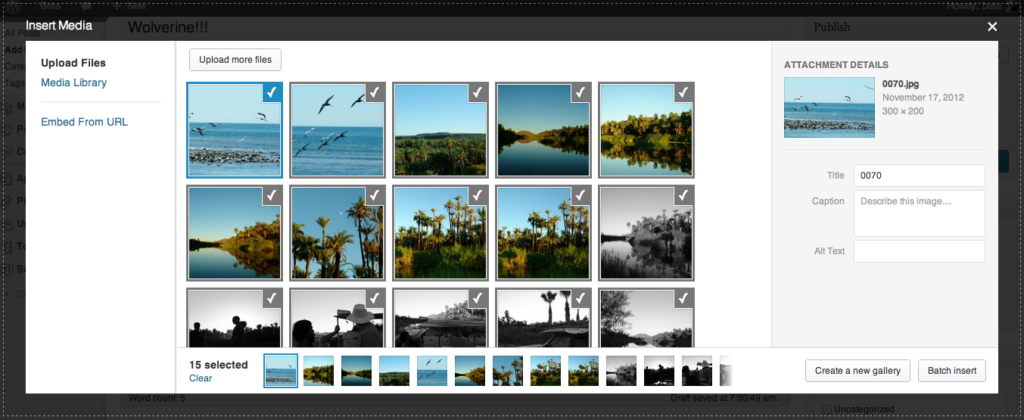
One of the Holy Grails for photographers using WordPress is inserting all the photos from a particular photo session or wedding. There have been a few plugins that have tried to fit the bill for what our picky tribe have wanted.
But much like the Secret Menu at In & Out Burger, WordPress has a little Secret Menu itself that takes care of this problem. It lets you insert all your uploaded photos, and lets you re-order them if you ever need to very easily. It’s calle the Gallery Shortcode, and is very easy to use, let me walk you through it.
Step 0
Before we get started, you’ll want to set your Large photo to at least the same width of your blog (Twice that if you want to be ready for Retina displays). So if your blog displays 800 pixel wide photos, you’ll want to go into your Media Settings and change the Large photo to 800 pixel wide.
Step 1
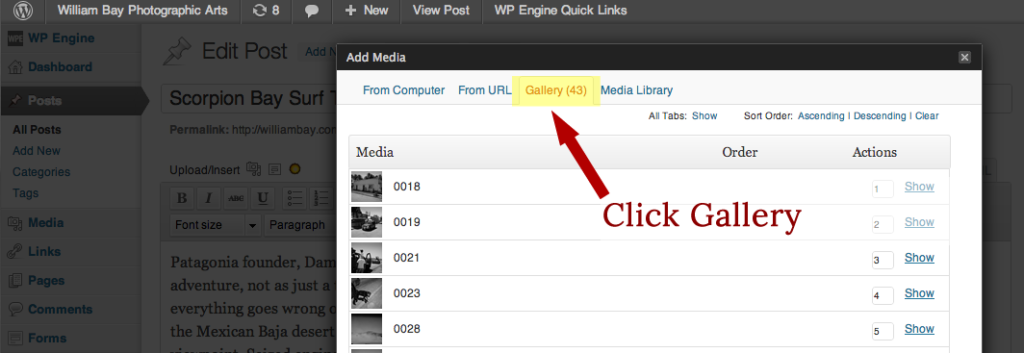
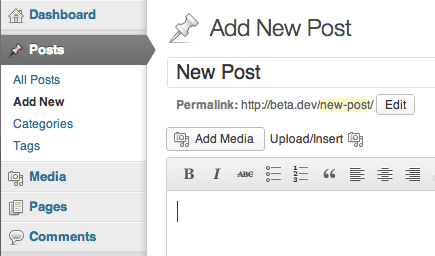
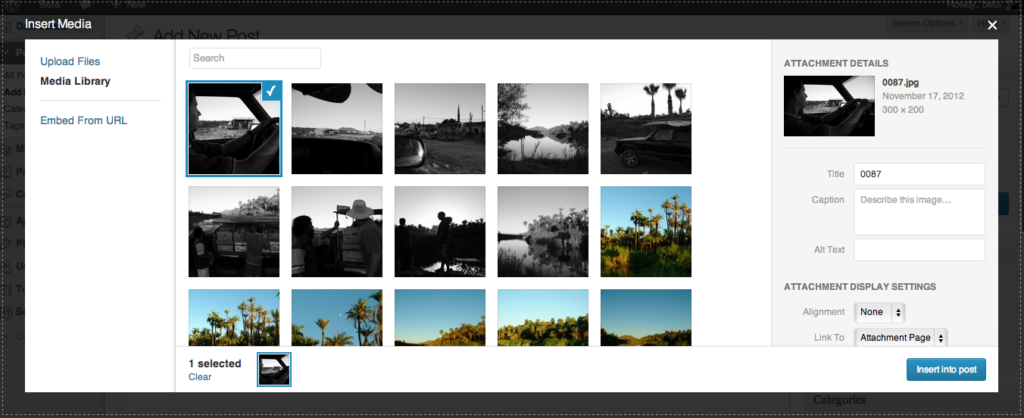
Start a new blog post and write the content that you want, then click on the Media Uploader to upload your images. After they’ve uploaded, click “Save All Changes” at the bottom of the upload screen. When you do that, you’ll see a new menu item pop up in the top called Gallery with the number of photos you just uploaded.
Step 2
You can change the order of these photos by selecting them and dragging up or down. When everything is set right for you, you can scroll to the bottom, select 1 Column, and then click Insert Gallery.
Step 3
In the Visual Editor, you’ll now see a blue rectangle that represents the Gallery that you just inserted. Since the Gallery defaults to Thumbnail size, if you were to preview your blog post now, you would see 1 column of small photos. What we want to do in the next step is change those to Large.
Step 4
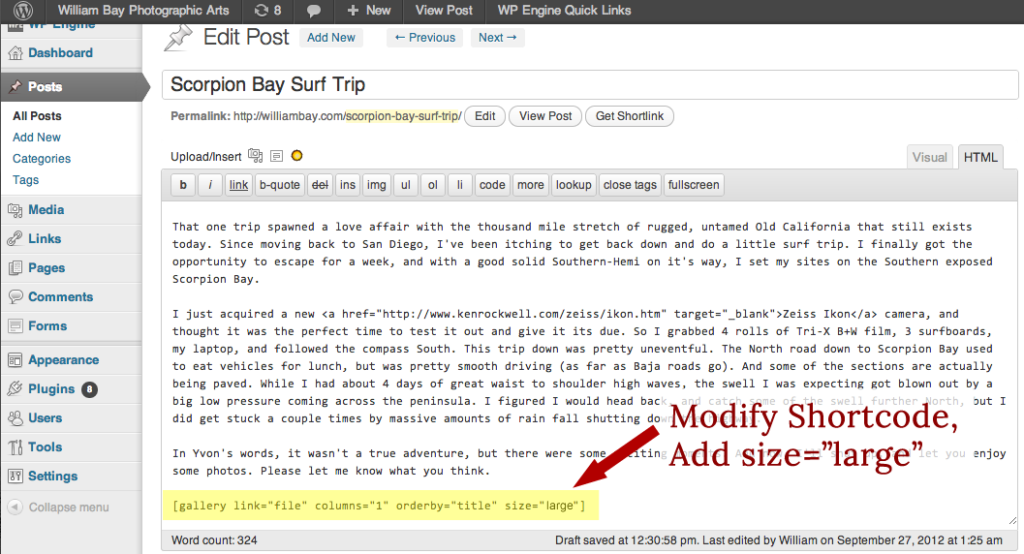
To change the photos to Large, you’ll have to switch into the HTML editor, and find the Gallery Shortcode. The Shortcode will be within [] brackets and will look something like
You’ll want to add – size="large" to the code so it looks like
And you’re done!
Step 5
Publish and rejoice! You can see this particular post here.
Conclusion
The great thing about using the Gallery Shortcode is that you can go back into the post and reorder the images if you ever need to, by just going back into the Gallery menu item at the top, updating the order, then updating the post.
If you use the Gallery Shortcode, the style may be a little different than just inserting the images directly, depending on your theme. If you want to adjust the spacing between photos, or remove any borders that show up, you’ll have to go into the CSS and make the changes there. If you’re not comfortable, give us a ring, we can help you out.
If you use this technique, let us know. We love hearing it when our followers get some use from our tips.
Update
@jonyoder from Jon Yoder a wedding photographer from Little Rock pointed out that when using the Gallery Shortcode method you can’t insert text in between images. This is true, but you can use Captions for each photo. These will display differently based on which theme you’re using. But this is an effective way to describe your photos or talk about what was happening. Thanks for pointing that out Jon!

